QuantaStor Partitioning
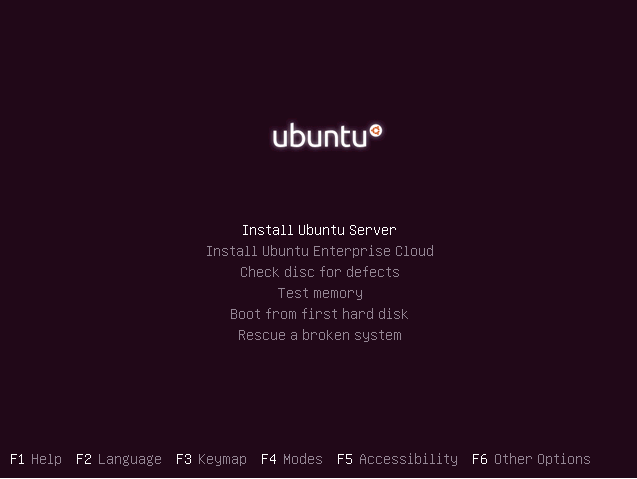
This is the initial screen that you will see after your server boots to the Ubuntu 10.04 x64 ISO media. Make sure that you have downloaded the 64bit (aka amd64) media, the QuantaStor SSP will not work with 32bit.
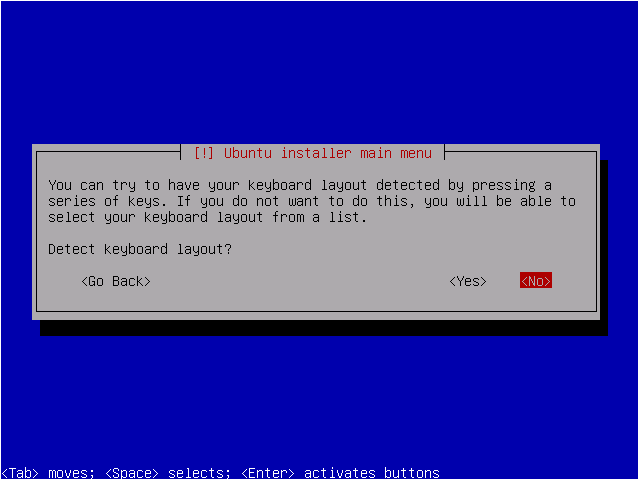
Generally speaking you'll just want to skip the keyboard layout detection and just press ENTER to choose the default US keyboard layout.
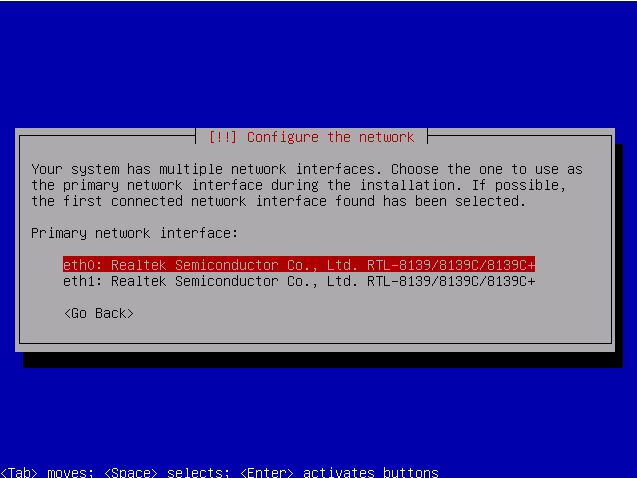
Select a network card in your server and make sure it is properly connected to the network. Also, make sure that you have a DHCP server on your network that can assign the system an IP address.
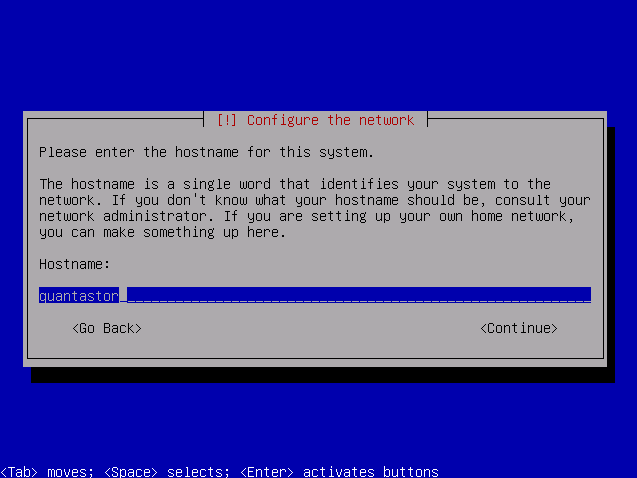
Enter the hostname for your QuantaStor storage system here. You can change this later via the QuantaStor Manager web management interface.
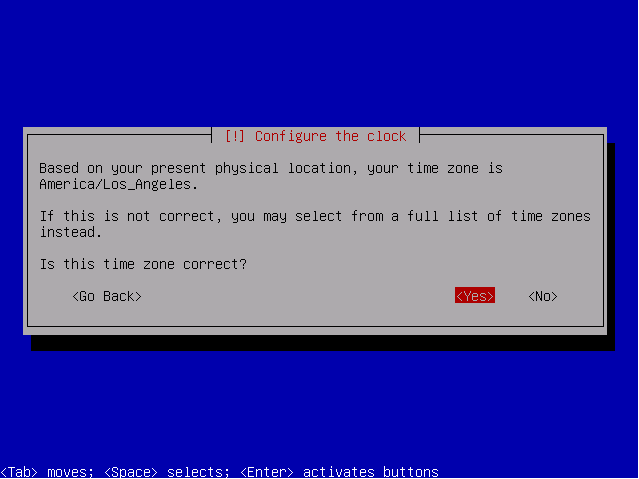
Your timezone should have been auto-detected, if so just press Enter to continue.
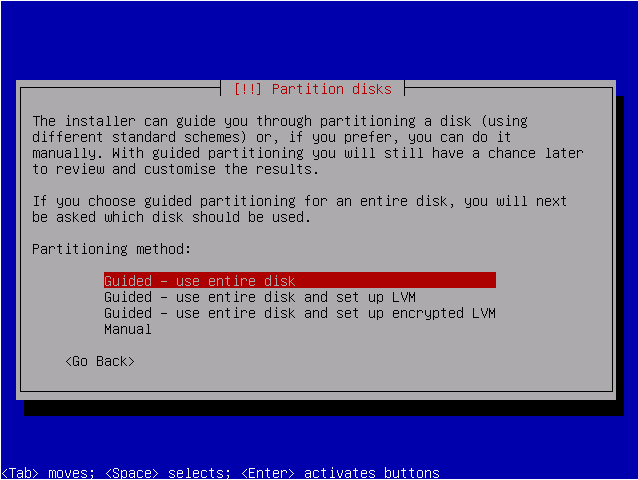
If you're installing to an internal hard drive you choose Guided partitioning then select the disk you want to install to. This disk cannot be used within a storage pool, and QuantaStor only requires 2GB of disk space so if you're purchasing a hard disk specifically for QuantaStor we recommend purchasing a small capacity 2.5" HD that you can easily mount to the inside of your server case.
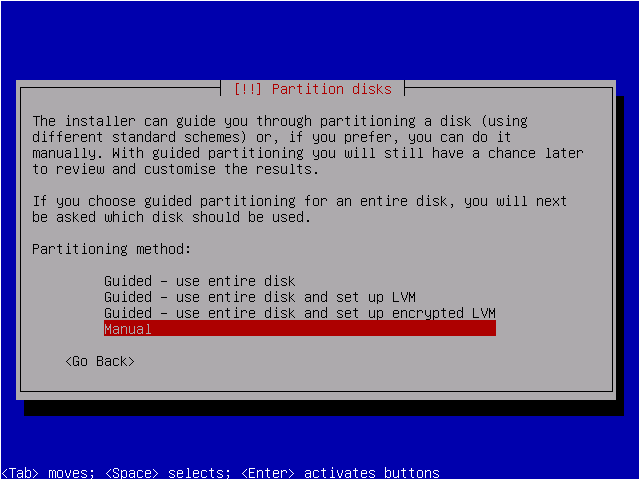
The other option is to install to USB flash media, and in that case you'll want to choose Manual partitioning. Not all USB flash drives are suitable for use with QuantaStor. We recommend that you purchase one of the following high grade & high speed USB flash drives for use with your QuantaStor system in the 4GB or larger capacity:
- Patriot Memory Xporter & Xporter XT series
- Transcend JetFlash 300 or 600 series
- Corsair Voyager series
The next few screen-shots show the Manual partitioning process you'll use with a USB flash drive.
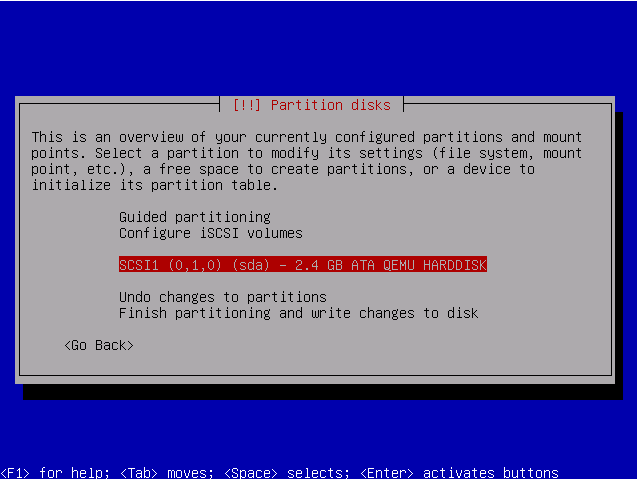
Select the USB flash drive from the list. If you don't see it in the list make sure the USB media is properly seated into your USB port on your server and reboot. If it doesn't come up again it's probably one of the following problems:
- You need to change the "Hard Disk Boot Order" in your system BIOS to make sure the USB drive is the first disk in the list. Your BIOS Boot Order screen should show the DVD/CDROM drive first and the USB flash drive second. If it isn't in that order, change it and save your settings.
- If your BIOS has a option like "Enable boot from USB" or something like that, make sure it's enabled.
- If the installation locked up at "43%" while detecting/scanning your disk drives you will need to first reformat the USB drive as FAT32. Some USB drive manufacturers format their media with partition table formats that are not recognizable to Linux, hence the need for the reformat. You can do this easily from any Windows PC or laptop you may have handy.
- If the BIOS has an option for something like "Support USB devices at boot time" or "Enable USB BIOS support" make sure those options are enabled.
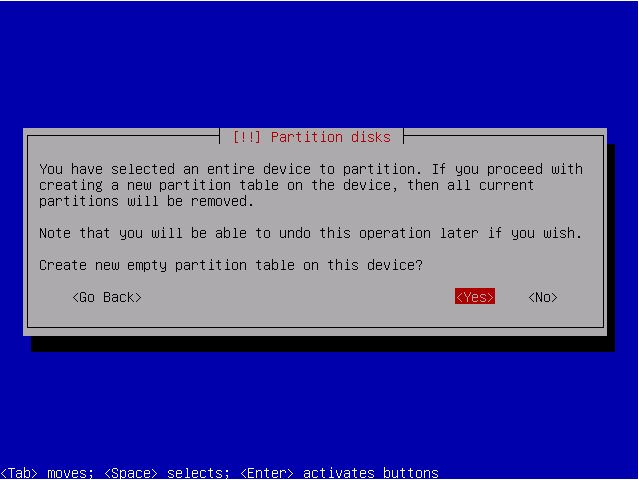
Yes, create the partition. If there's already a partition on the drive, delete it first, then create a new empty partition.
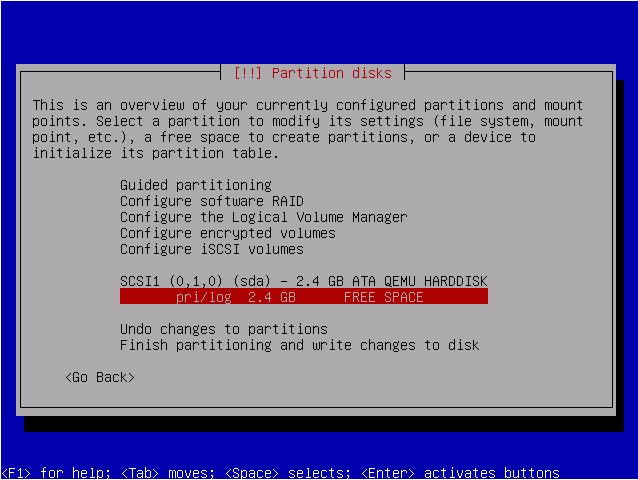
Choose the free-space to install into.
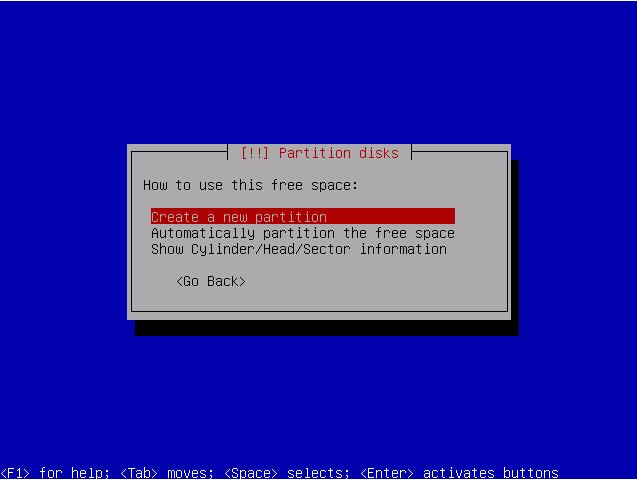
Yes, confirm that you want to make a partition.
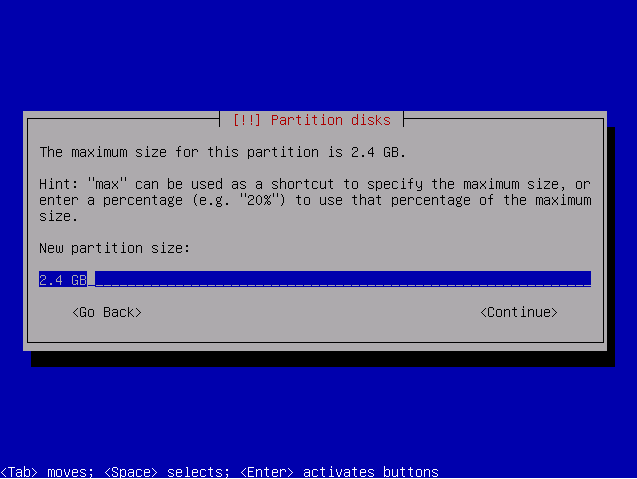
Yes, use all the available disk space on the USB flash media. No space needs to be left behind for a swap drive because you won't be using one with your USB flash drive due to the performance impact and wear it will impart on the drive.
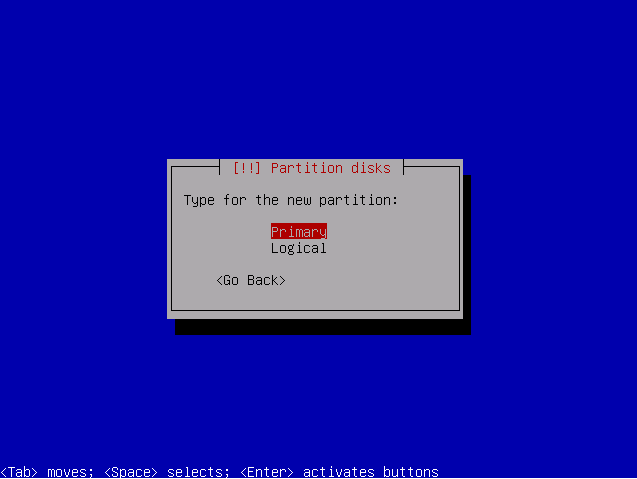
Create an empty primary partition on the disk.
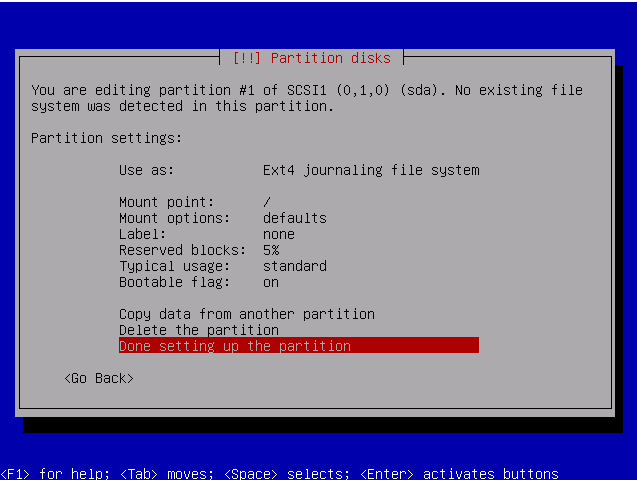
This is what your screen should look like. Note that we're choosing this partition for use with the root '/' file-system and we're using ext4 as the filesystem type. Also note that we've flagged the disk as bootable.
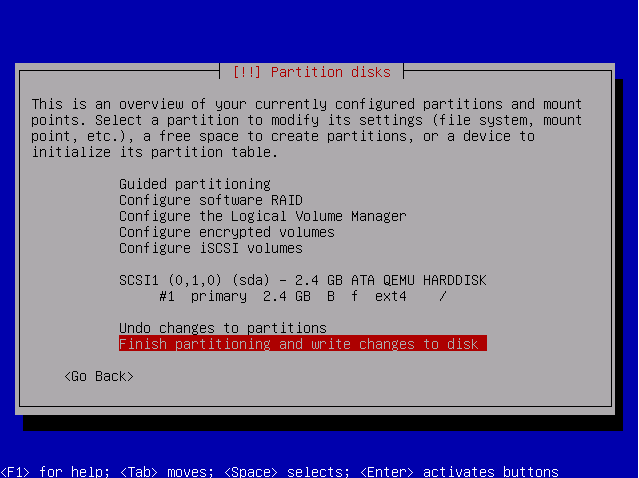
Write the changes to disk.
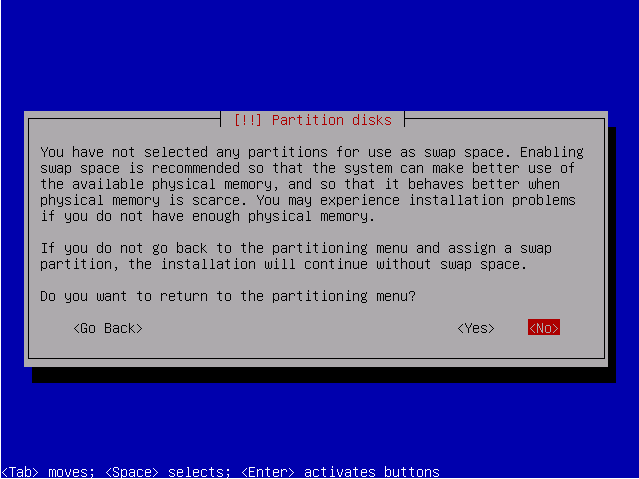
It's complaining that you need a swap drive here but ignore that and select 'NO' you do not want to go back to the partitioning screen.
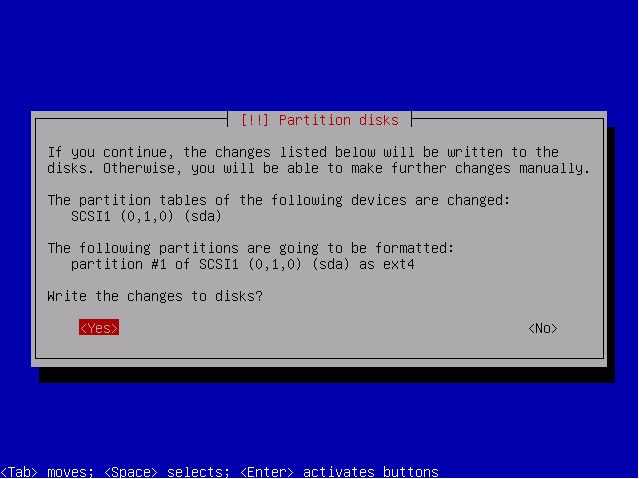
Yes write the changes to disk. The concludes the partitioning process.
The next few installation screens will ask you to create a user account. We recommend that you name the main admin user account as 'qadmin' but that is not strictly required. Note though that other documentation on this web site will refer to the Linux administrative user as 'qadmin'.
