Gladinet Setup: Difference between revisions
Created page with "== Users == If you are using Quantastor users it is recommended that are limited to only accessing CIFS shares. See the CIFS access only instructions for..." |
mNo edit summary |
||
| Line 28: | Line 28: | ||
[[File:Gladinet User Tenant CIFS Options.png|border]] | [[File:Gladinet User Tenant CIFS Options.png|border]] | ||
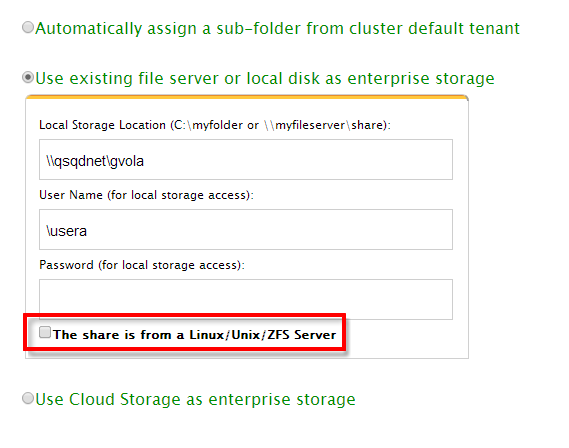
Setup the new tenant to use the correct share. | Setup the new tenant to use the correct share. Note the 'Linux/Unix/ZFS' option is unchecked. | ||
[[File:Gladinet Tenant Storage User.png|border]] | [[File:Gladinet Tenant Storage User.png|border]] | ||
Revision as of 20:36, 23 July 2014
Users
If you are using Quantastor users it is recommended that are limited to only accessing CIFS shares. See the CIFS access only instructions for more information. This is not needed if are using Active Directory.
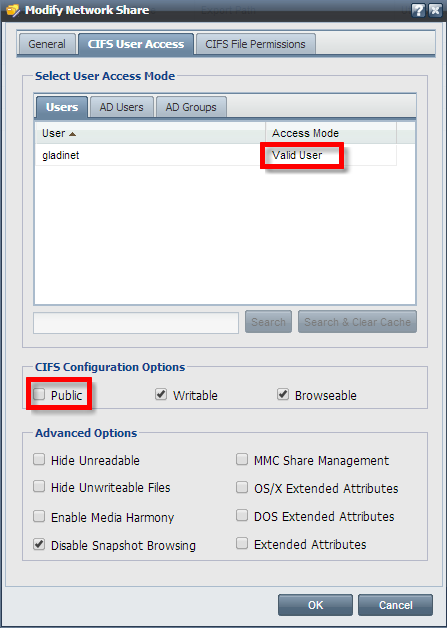
Setup the permissions for the share.
Setup the Default Tenant Storage
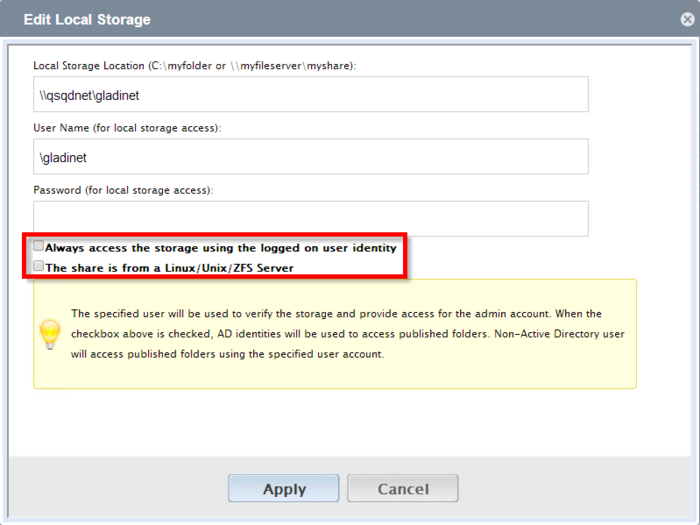
Enter the share name, username and password. Note that the both options are left unchecked.
Tenant Storage
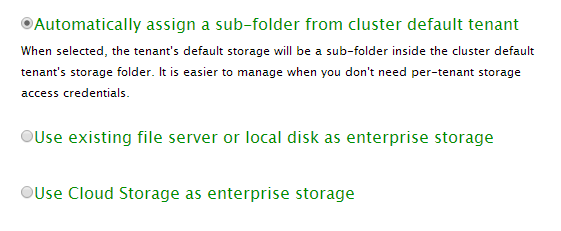
The simplest setup is to have each tenant use a subfolder of the default tenant's storage. From the perspective of Quantastor all files are owned by a single user and Gladinet enforces limits the scope each user can see.
Another option is to give each tenant their own share. In this configuration the files will be owned by tenant user account.
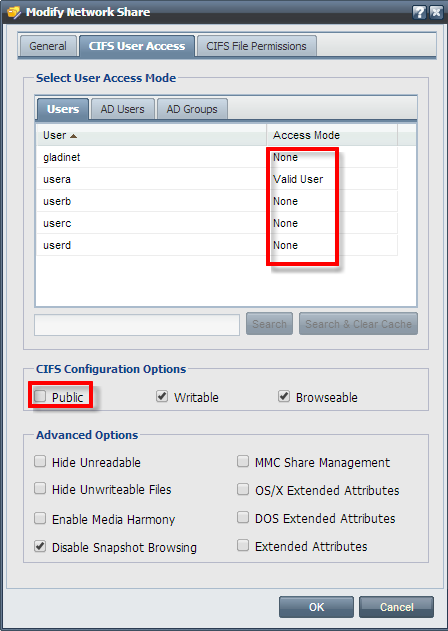
Create a user for each tenant using the CIFS Access role. Create a share for each tenant. Set the correct user as a Valid User for each share. This should be the only user with permissions for the share.
Setup the new tenant to use the correct share. Note the 'Linux/Unix/ZFS' option is unchecked.
