Difference between revisions of "Add Member to Ceph Cluster"
m |
m |
||
| Line 12: | Line 12: | ||
'''Navigation:''' Scale-out Storage Configuration --> Scale-out Storage Clusters --> Scale-out Cluster Management --> Add Member ''(toolbar)'' | '''Navigation:''' Scale-out Storage Configuration --> Scale-out Storage Clusters --> Scale-out Cluster Management --> Add Member ''(toolbar)'' | ||
| − | + | <br><br> | |
{{Template:ReturnToWebGuide}} | {{Template:ReturnToWebGuide}} | ||
Revision as of 10:09, 30 May 2023
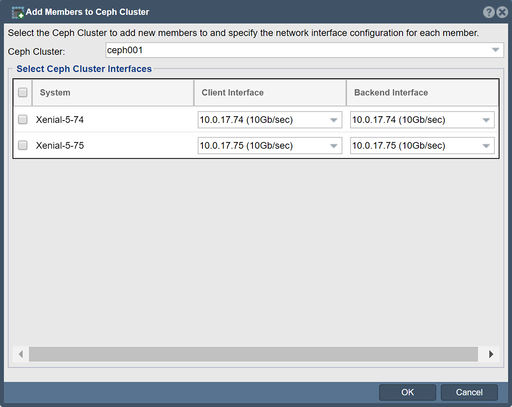
In QuantaStor, "Add Members to Ceph Cluster" is a feature that allows you to expand the Ceph storage cluster by adding new storage nodes. Ceph is a distributed storage system that provides fault tolerance and scalability by distributing data across multiple nodes.
When you use the "Add Members to Ceph Cluster" feature in QuantaStor, you are essentially adding new storage nodes to the existing Ceph cluster. This process involves configuring the new nodes and integrating them into the cluster, enabling them to contribute to the overall storage capacity and performance.
By adding more members to the Ceph cluster, you can increase the storage capacity and performance of the system. This is particularly useful when you need to accommodate growing data requirements or improve the overall performance of your Ceph storage infrastructure.
When adding members to a Ceph cluster in QuantaStor, it is important to ensure that the new nodes meet the hardware requirements and are properly configured to integrate with the existing cluster. QuantaStor provides a user-friendly interface that simplifies the process of adding new members and guides you through the necessary steps to expand your Ceph storage infrastructure effectively.
Navigation: Scale-out Storage Configuration --> Scale-out Storage Clusters --> Scale-out Cluster Management --> Add Member (toolbar)
