Veeam Integration
Overview
This page is now deprecated, please see the Veeam Deployment Guide page.
Veeam offers broad data management and visibility/control capabilities and an extensive orchestration engine to facilitate disaster recovery (DR) readiness. Veeam integrates with QuantaStor SDS for backing up Windows, Vmware/Hyper-V and Linux workstations and storage servers.
With QuantaStor and Veeam you can:
- Use Veeam® Agent for Microsoft Windows to deliver backup and recovery for Windows-based servers and workstations, running on premises, remotely or in the public cloud.
- Use Veeam Backup & Replication including the free version for VMware and Hyper-V to protect 10 VMs, or a combination of VMs, cloud instances, physical servers or workstations. You can protect part of your environment, use in your home lab, or use for migrations at no cost.
- Use Veeam Agent for Linux as a simple backup agent to ensure the Availability of Linux instances, regardless if they are deployed in the public cloud or on-premises.
Veeam Agent for Microsoft Windows
Veeam Agent for Microsoft Windows FREE provides a simple solution for backing up Windows-based servers, desktops and laptops. Back up your computer to an external hard drive, QuantaStor NAS (network-attached storage) share or a Veeam Backup & Replication repository. If your system fails, ransomware encrypts your files, a hard drive crashes or a critical file is corrupted or accidentally deleted, you can recover what you need in a matter of minutes. Complete documentation and free download for Veeam Agent for Microsoft Windows can be found here.
Creating a Windows Veeam Backup
For this tutorial we'll create a Windows backup job by running the Veeam Configure Backup utility.
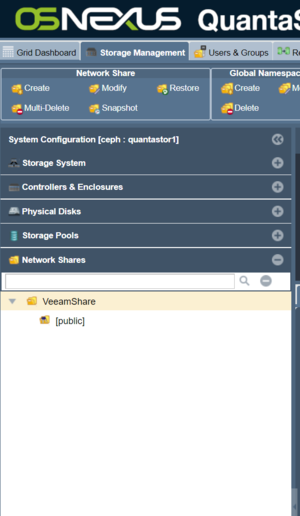
The first step is creating a Network Share in QuantaStor and name it VeeamShare:
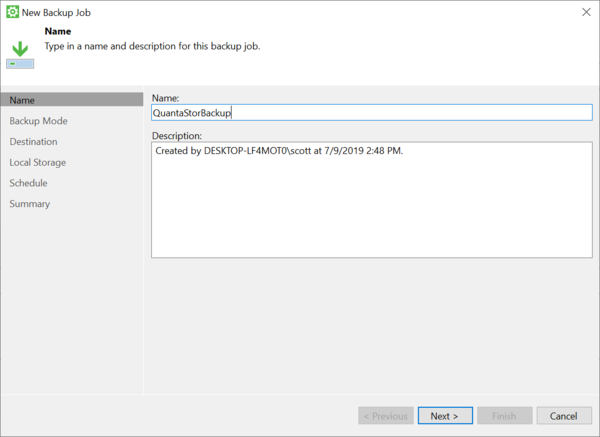
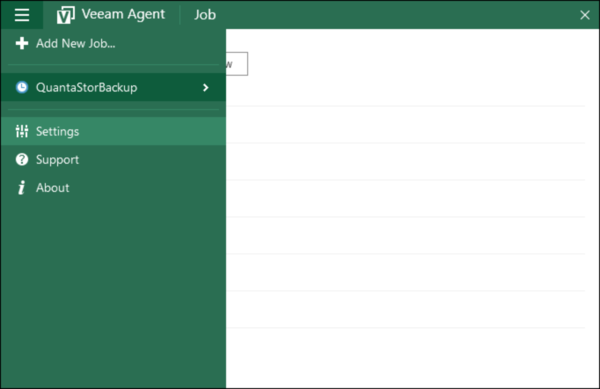
Next, open the Veeam Configuration Backup utility in Windows and create a new backup job:
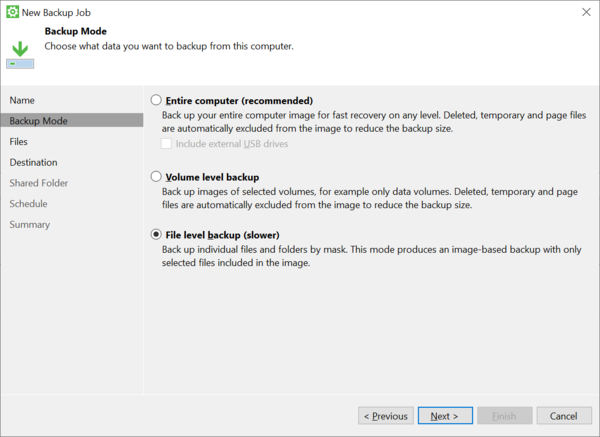
Select file-level backup:
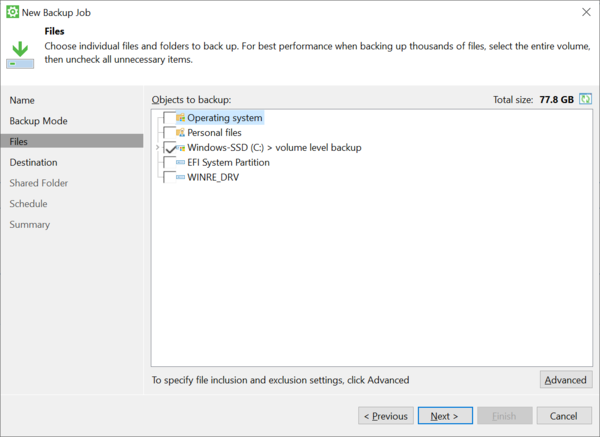
Select the Windows C: drive:
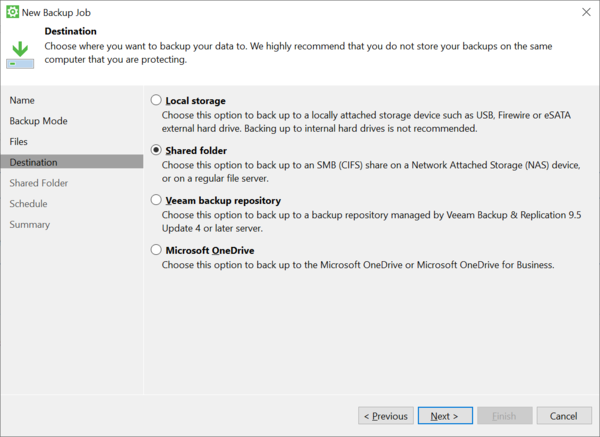
Choose Shared Folder to backup to the QunataStor Network Share:
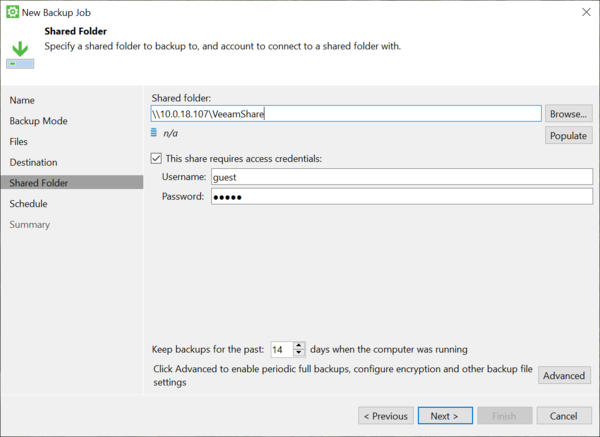
Enter the IP address of your QuanatStor deployment and then enter VeeamShare. Enter a username and password (guest/guest for demo purposes).
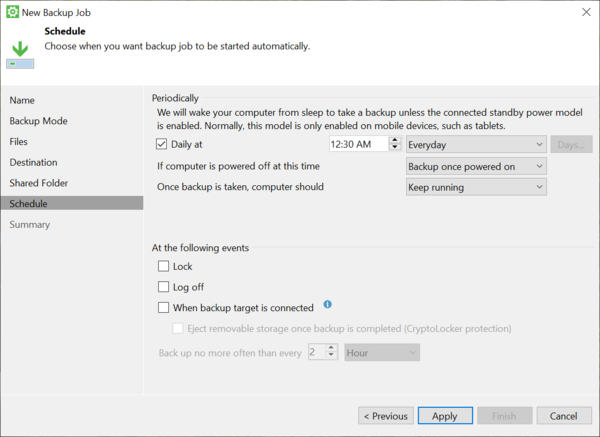
Schedule your backups and click Apply.
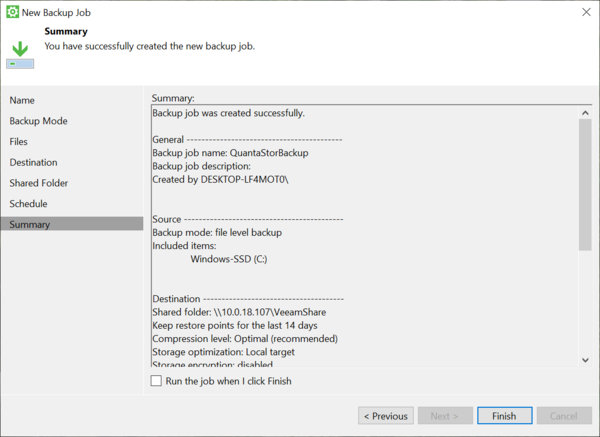
View your final backup configuration.
Manage your backup in the Veeam Agent for Windows.
Adding S3 Compatible Object Storage with Veeam
With the Veeam Backup & Replication application you can add and manage QuantaStor S3 Compatible storage for primary backups on site and archiving secondary backups in the cloud.
To add S3 compatible object storage to Veeam, do the following:
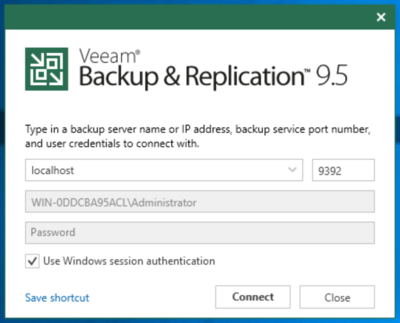
Open the Veeam Backup & Replication application and connect to your localhost or IP address.
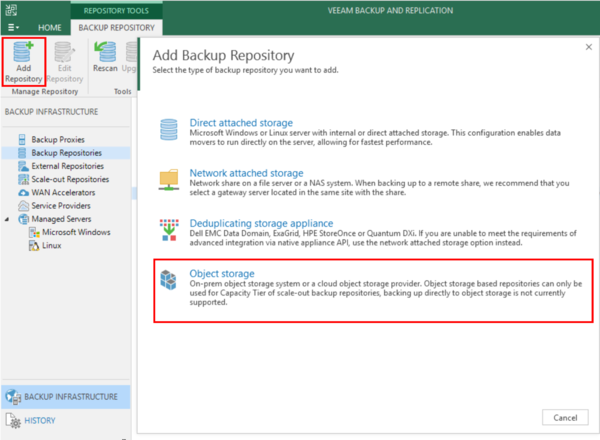
Click Add Repository and then click Object Storage.
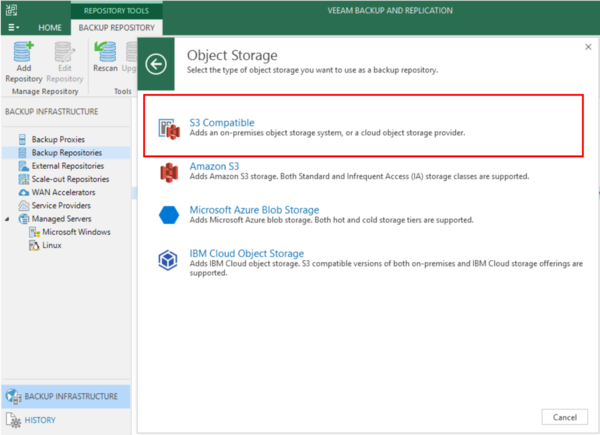
Click on S3 Compatible Object Storage.
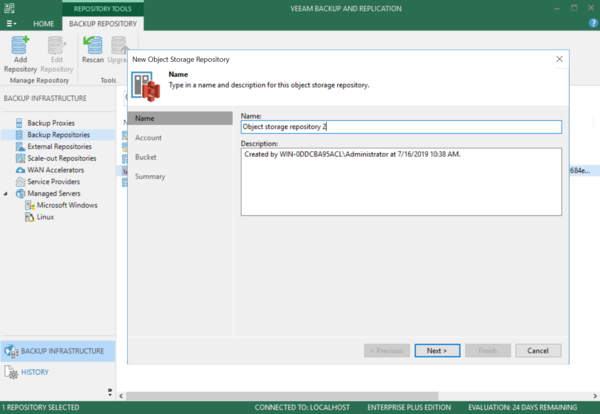
Enter a name for the Object Storage Repository and click Next.
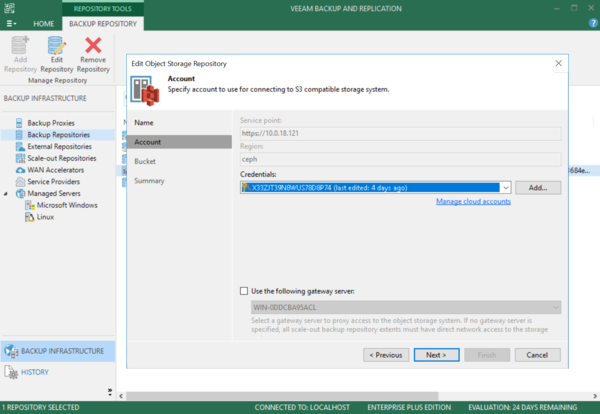
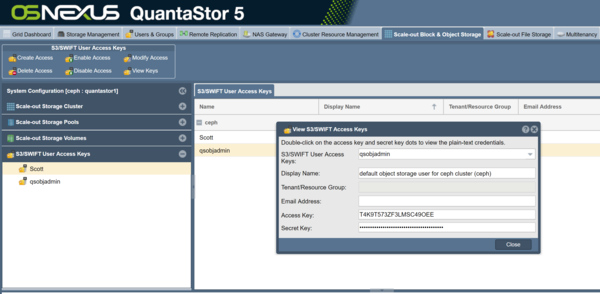
Add your QuantaStor S3/Swift User Access Keys to your Veeam Account.
Your QuantaStor S3/Swift User Access Keys map to S3 buckets created in QuantaStor.
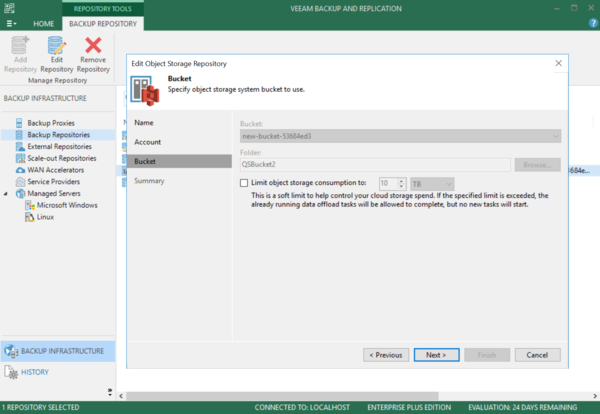
Add your QuantaStor S3 bucket location.
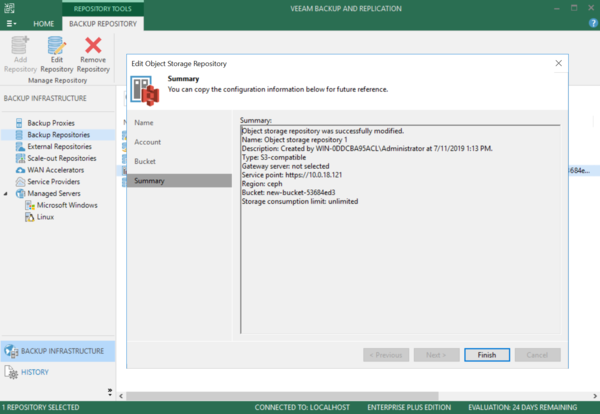
Click Next and view your Summary.
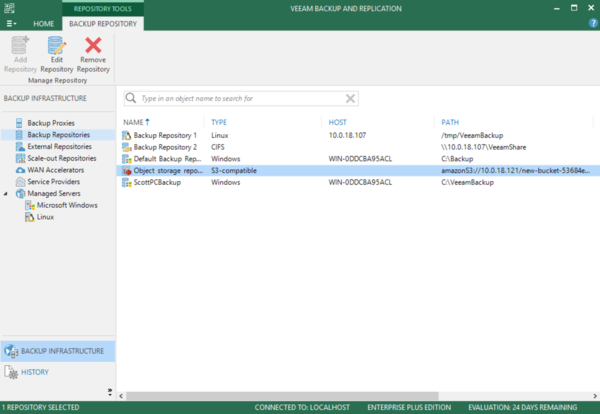
View your new Object storage repository.
To add a QuantaStor NAS share as a Veeam backup repository, first create a Network Share in QuantaStor
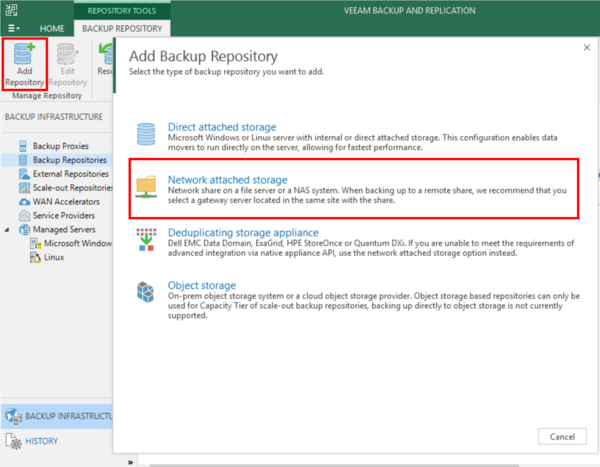
Next, click Add Repository in the Veeam Backup and Replication application and then click Network attached storage in the Add Backup Repository window.
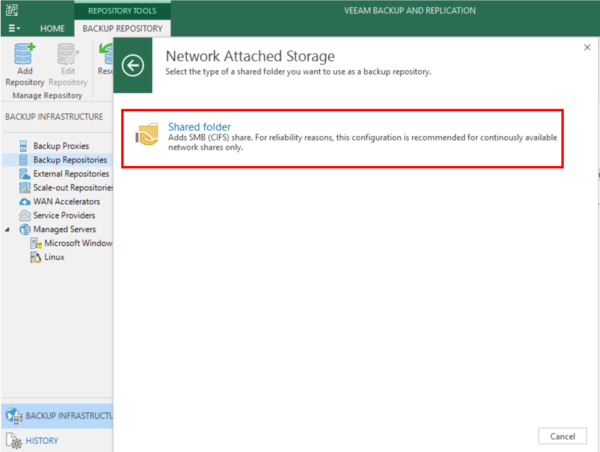
Click Shared folder to add a SMB (CIFS) network share.
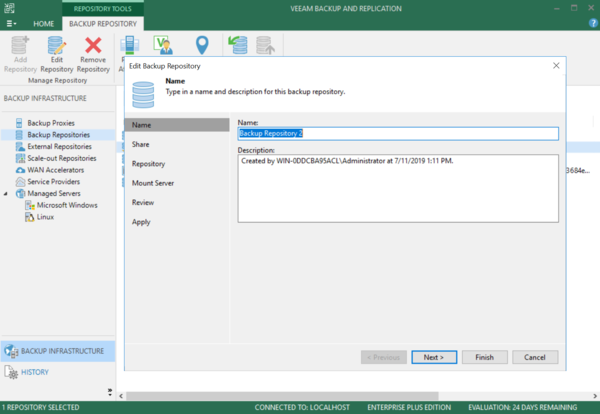
Enter the repository name.
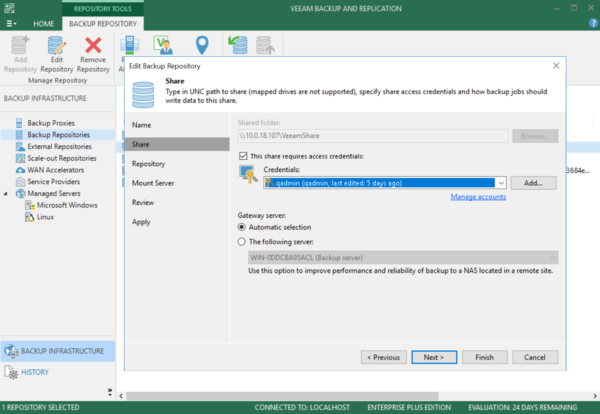
Enter the IP address of your QuantaStor node and the network share name you created. Next, add your QuantaStor credentials.
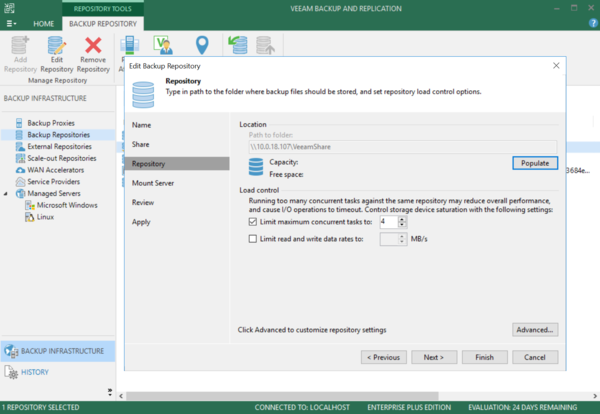
Verify the repository and click Next.
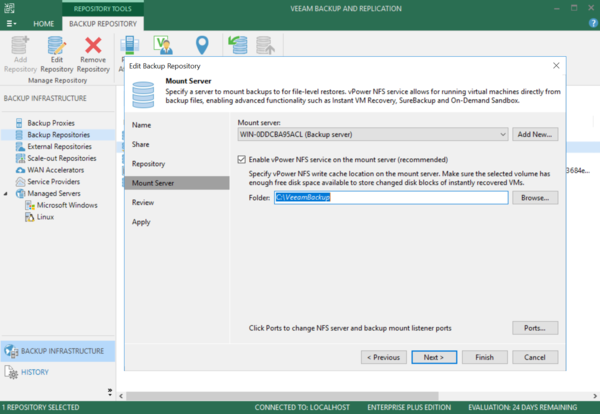
Verify your bakup server and enable the vPower NFS service. Add your NAS folder and click Next.
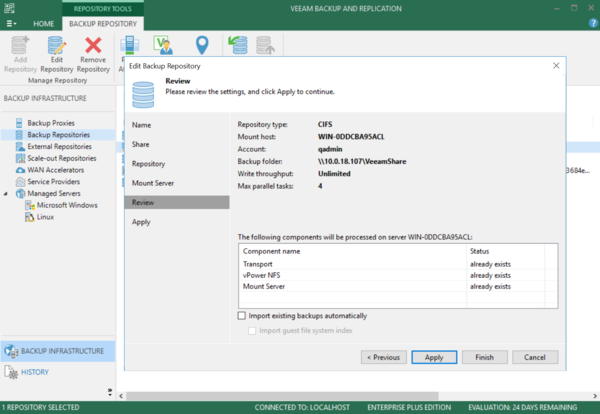
Review your settings and click Apply.
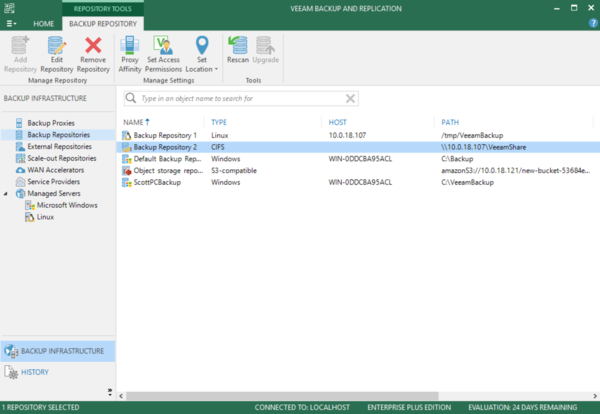
View the final Backup Repository Type (CIFS) and Path in the Veeam Backup Repository window.
