+ Getting Started Overview: Difference between revisions
mNo edit summary |
|||
| Line 24: | Line 24: | ||
Note that when you add the key using the 'Add License' dialog you can choose whether or not to include the START/END KEY BLOCK markers, though it makes no difference. | Note that when you add the key using the 'Add License' dialog you can choose whether or not to include the START/END KEY BLOCK markers, though it makes no difference. | ||
For more information on the password, refer to the [[Storage System License Add]] page. | |||
=== Activate License === | === Activate License === | ||
Revision as of 16:17, 25 July 2018
This guide assumes that you have already installed QuantaStor and have successfully logged into QuantaStor Manager. If you have not yet installed the QuantaStor SDS software on your server, please see the Installation Guide for more details. For a full guide to the web interface see the QuantaStor Administrators Guide.
The setup process in the product is currently contained within the Configuration Workflow Manager.

The default administrator user name for your storage system is simply 'admin' and this user name will automatically appear in the username field of the login screen. The password for the 'admin' account is initially just 'password' without the quotes. You will want to change this after you first login and it is included in the Workflow Manager.
Basic Setup
The steps covered here will be necessary to set up your storage system.
Add License
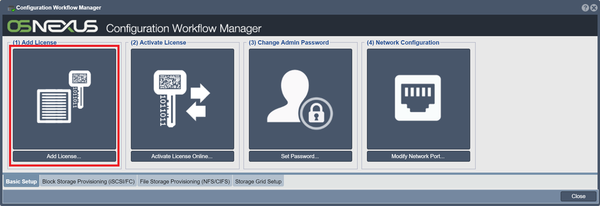
Once QuantaStor has been installed, the first step is to enter your license key block. Your license key block can be entered using the Add License button in the Workflow Manager or using the License Manager dialog which is accessed by pressing the License Manager button in the toolbar.
The key block you received via email is contained within markers like so:
--------START KEY BLOCK--------

---------END KEY BLOCK---------
Note that when you add the key using the 'Add License' dialog you can choose whether or not to include the START/END KEY BLOCK markers, though it makes no difference.
For more information on the password, refer to the Storage System License Add page.
Activate License
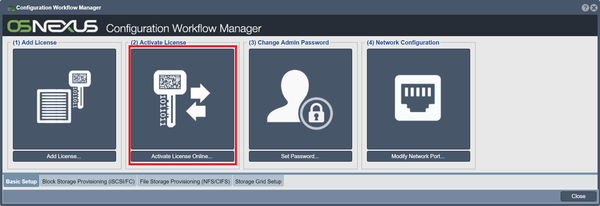
Once your key block has been entered you'll want to activate your key which can be done in one of two ways. If the new QuantaStor system is connected to the network, the activation can be completed in just a few seconds using the Activate License Online button in the Workflow Manager. The Activate Online button in the License Manager functions the same way.
If your storage system is not connected to the internet select the Activate via Email button in the License Manager and send the required information to support@osnexus.com. You have a 7 day grace period for license activation, so you can begin configuring and utilizing the system even if the system is not yet activated. If you do not activate the license within 7 days, the storage system will no longer allow any additional configuration changes until an activation key is supplied.
Change/Set Admin Password
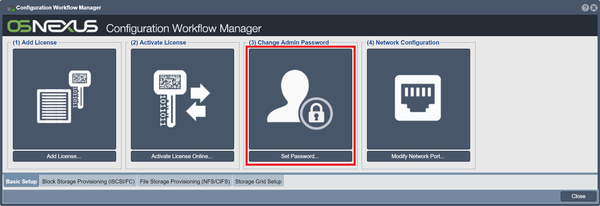
For security, you will want to create a secure password for your storage system. This can be completed quickly using the Change Admin Password button in the Manager, but also can be achieved via the Set Password button in the toolbar under "Users & Groups".
For more information on the password, refer to the User Set Password page.
Network Configuration
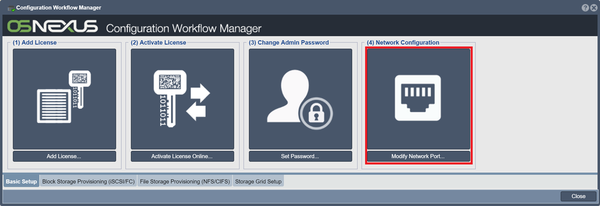
You will want to configure the ports on your storage system. This can be completed quickly using the Network Configuration button in the Manager, but also can be found via right-clicking inside the Network Ports tab, visible when "Storage System" is selected under "Storage Management".
For more information on the password, refer to the Network Port Modify page.
Block Storage Provisioning (iSCSI/FC)
This section will cover the creation of storage volumes and user groups, and allocation of these storage volumes to these groups.
Create Storage Pools
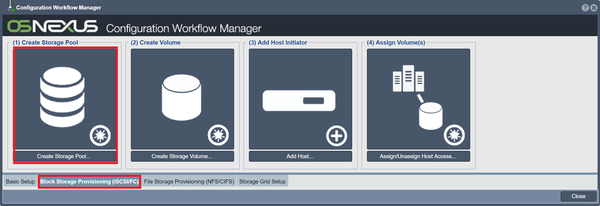
To create your first storage pool via the Workflow Manager, switch to the Block Storage Provisioning tab within Workflow Manager and click on the Create Storage Pool button. If you select RAID0 for raid type, then the pool will be ready immediately but won't be fault tolerant. Most likely, you will want to replace it with a RAID6 or RAID10 storage pool before you start writing important data to the storage system.
Once you have created a storage pool it will take some time to 'rebuild'. Once the 'rebuild' process has reached 1% you will see the storage pool appear in QuantaStor Manager and you can begin to create new storage volumes.
WARNING: Although you can begin using the pool at 1% rebuild completion, your storage pool is not fault-tolerant until the rebuild process has completed.
For more information on storage pools, RAID levels and storage pool options refer to the Create Storage Pool page and the Administrators Guide.
Create Volume
After you have created one or more storage pools you can begin creating storage volumes in them. Storage volumes are the iSCSI disks that you present to your hosts. Sometimes they're called LUNs or virtual disks, but storage volume is the generally accepted term used by the broader storage industry, and so will be used within this wiki.
You may have to wait until your storage pool is 1% complete with its synchronization before you can start to create storage volumes.
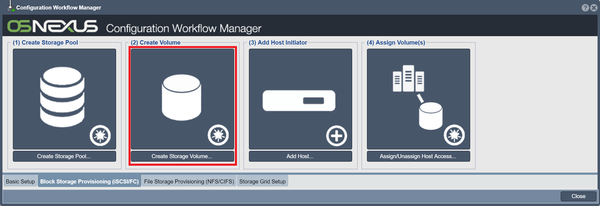
To create your storage volumes, click the Create Volume button in the Workflow Manager or the Create button on the toolbar under the "Storage Volumes" tab of "Storage Management". When the dialog appears, give your storage volume a name, select the size of the volume you want to create using the slider bar, and press OK.
For more information, refer to the Storage Volume Create page and the Administrators Guide.
Adding Hosts
The host object represents a server, desktop, virtual machine or any other entity that you want to provide storage to. Each host is only allowed to see the storage volumes that you have assigned to them. The industry term for this is called "LUN Masking" but in for this wiki we will refer to it simply as "storage assignment".
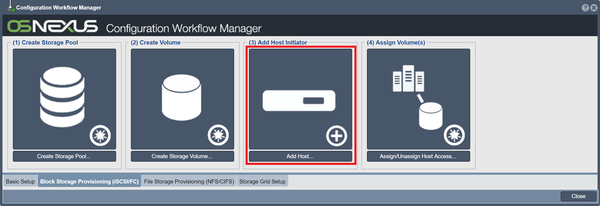
To add a host to the system, click the Add Host button in the Workflow Manager or the Create button on the toolbar under the "Hosts" tab of "Storage Management". You will be asked to enter a name, IP address and/or IQN for your new host. We highly recommend that you always identify your hosts by IQN as it makes it easier to manage your hosts. Once you've entered a host name and its IQN press OK to have the host created.
For more information, refer to the Host Add page.
Assigning Storage Volumes to Hosts
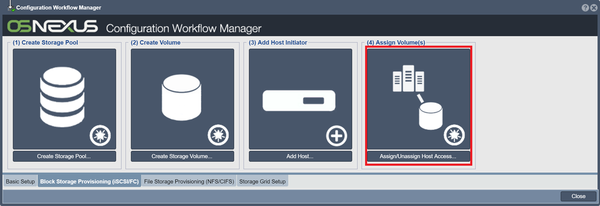
Now you're ready to assign the volumes you created to your hosts. In the Workflow Manager, this is covered by the Assign Volume(s) button. You can also assign them by using the "Assign" tool, under the "Storage Volumes" and the "Hosts" tab.
Note: A given volume can be assigned to more than one host at the same time, but keep in mind that you need to have software or a file-system than can handle the concurrent access such as a cluster file system or similar cluster aware application.
Once you've selected your host and volume, press OK. Under the "Hosts" tab, you should now see your selected volumes in a dropdown menu below the host.
For more information, refer to the Storage Volume Assign page.
File Storage Provisioning (iSCSI/FC)
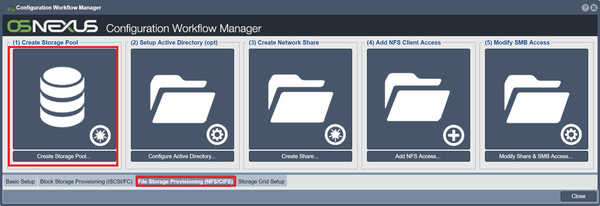
Create Storage Pools
This step is identical to the one of the same name in the Block Storage Provisioning step.
For more information, refer to the Create Storage Pool page.
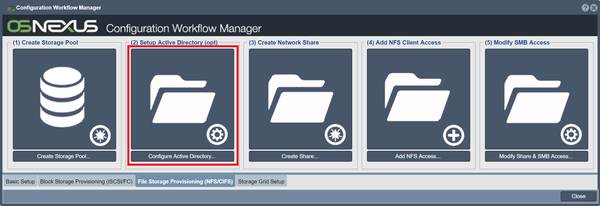
Setup Active Directory (Optional)
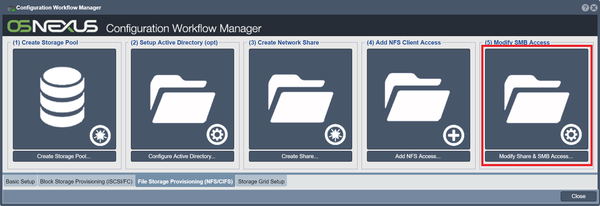
This step works with Microsoft Active Directory to assign network shares to users and groups. Set up Active Directory using the Setup Active Directory button in Workflow Manager, or click on the button Configure Active Directory in the toolbar under "Network Share" in "Storage Management".
For more information, refer to the Network Share Configure CIFS page.
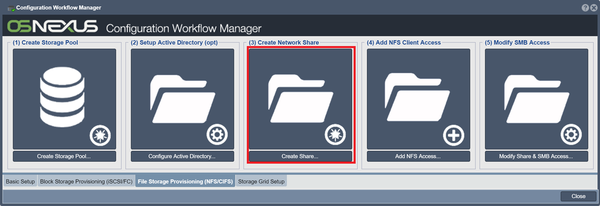
This creates a folder within a selected storage pool. Click on the Create Network Share button in Workflow Manager, or the Create button in "Network Share".
For more information, refer to the Network Share Configure CIFS page.
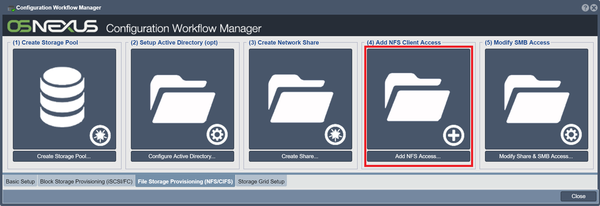
Add NFS Client Access
Creates additional client access for the network share. Click on the Add NFS Client Access button in Workflow Manager, or rightclick on the target network share under "Network Share" and click "Add NFS Access".
For more information, refer to the Add NFS Client Access page.
Modify SMB Access
Lets you control the network share's settings such as compression, quotas, and sync policies. Click on the Modify Network Share button in Workflow Manager, or the Modify button under "Network Share".
For more information, refer to the Modify Network Share page.
Storage Grid Setup
Create Storage Grid
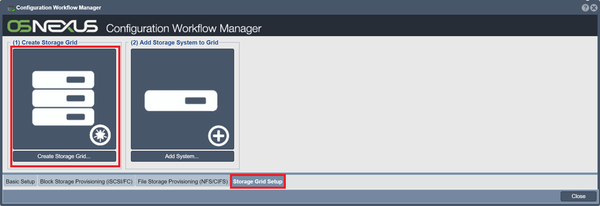
Storage grids, also known as management grids, let you manage multiple storage appliance within the same system. Each appliance can only be part of one management grid. In Workflow Manager, switch to the "Storage Grid Setup" tab and click on the Create Storage Grid button, or rightclick on "Storage System" and select "Create Management Grid".
For more information, refer to the Create Management Grid page.
Add Storage System to Grid
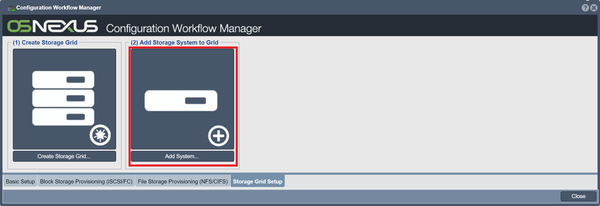
Adds other storage systems to your storage grid, called "nodes". Click on the Add Storage System to Grid button in Workflow Manager, or rightclick on "Storage System" and select "Add Grid Node".
For more information, refer to the Add Management Grid page.
Disk Drive Selection
Storage pools are created using entire disk drives. That is, no two storage pools can can share a physical disk between them. Also, storage pools that use striping such as RAID5, RAID6, and RAID0 must use disks of equal size or the lowest common denominator of disk sizes will be utilized. For example, if you have 4 disks of different sizes, 1 x 500GB, 2 x 640GB, and 1 x 1TB and you create a RAID5 storage pool out of them then the storage pool will effectively comprised of 4 x 500GB disks because the extra space in the 640GB and 1TB drives will not be utilized. With RAID5 one of those disks would contain the parity data leaving you with 1.5TB of usable space in the pool.
In short, plan ahead and purchase harddrives of the same size from the same manufacturer. You can use SAS, SATA and/or SSD drives in your QuantaStor storage system, but it is not a good idea to mix them within a single storage pool as they all have different IO characteristics.
Data Compression
Storage pools support data compression and this not only saves you disk space it improves performance. It may seem surprising that read and write performance would improve with compression but the fact is that today's processors can compress/decompress data in much much less time than it takes for a hard disk head to seek to the correct location on the disk. What this means is that when it does get to the right location to read a given block of data, it will need to read fewer blocks to get a large amount of data thereby making much less work for the hard drive to serve up data for a given request. This is especially effective with read operations but also improves write performance. To use data compression with your storage pool, just leave the box checked when you bring up the 'Create Storage Pool' dialog as it is the default to have it enabled.
SSD Optimizations
SSD drives to not have rotational latency issues that you find with traditional hard disk drives. As such the intelligent queuing operations that happen at various IO layers to improve read/write performance based on the location of the head and proximity of data blocks does no good. In fact they hurt performance as in many cases the disk drivers will wait for additional requests or blocks to arrive in an attempt to queue and optimize the IO operations. The SSD drives also use a technology called TRIM to free up blocks that are no longer used. Without TRIM SSD drives have their write performance progressively degrade as the layout of the blocks become progressively more and more fragemented. Because SSD drives and hard drives in general are oblivious to the file-system type and layout of the data stored within them, they do not know when a given block has been deleted and can be freed up for reuse hence the need for something at the Operating System level to communicate this information. This is called "garbage collection" and modern operating systems & file systems like the one used with QuantaStor use the TRIM technology to communicate to SSD devices information about which blocks can be garbage collected thereby improving the performance of the device and your iSCSI storage volumes residing within.
